Piston Tips and Tricks: How to Install Wire Locks
Wire locks are one of the most common wrist pin locks used in today’s pistons, but correct installation can be frustrating. Here, we go through important tips and tricks to ease your wire lock installation and make sure you’re up and running reliably.
When rebuilding an engine, there are a handful of tasks that—no matter what you do—aren’t particularly pleasant to perform. For some, it may be meticulously cleaning all the parts, while for others, it may be undertaking all the necessary measurements of critical components. However, the focus here is on reducing the frustrations many builders experience when installing wire locks in their pistons. Not only can wire lock installation be frustrating, but installing them correctly is incredibly important to ensure the engine performs well for a long time.
Have a different lock style? We have install tips for more styles here.
Unfortunately, for many builders, installing wire locks can go south in a hurry. Catastrophic engine damage can easily be caused by improperly installed wire locks. This story isn’t all that uncommon, and many probably know of someone who had a similar experience.
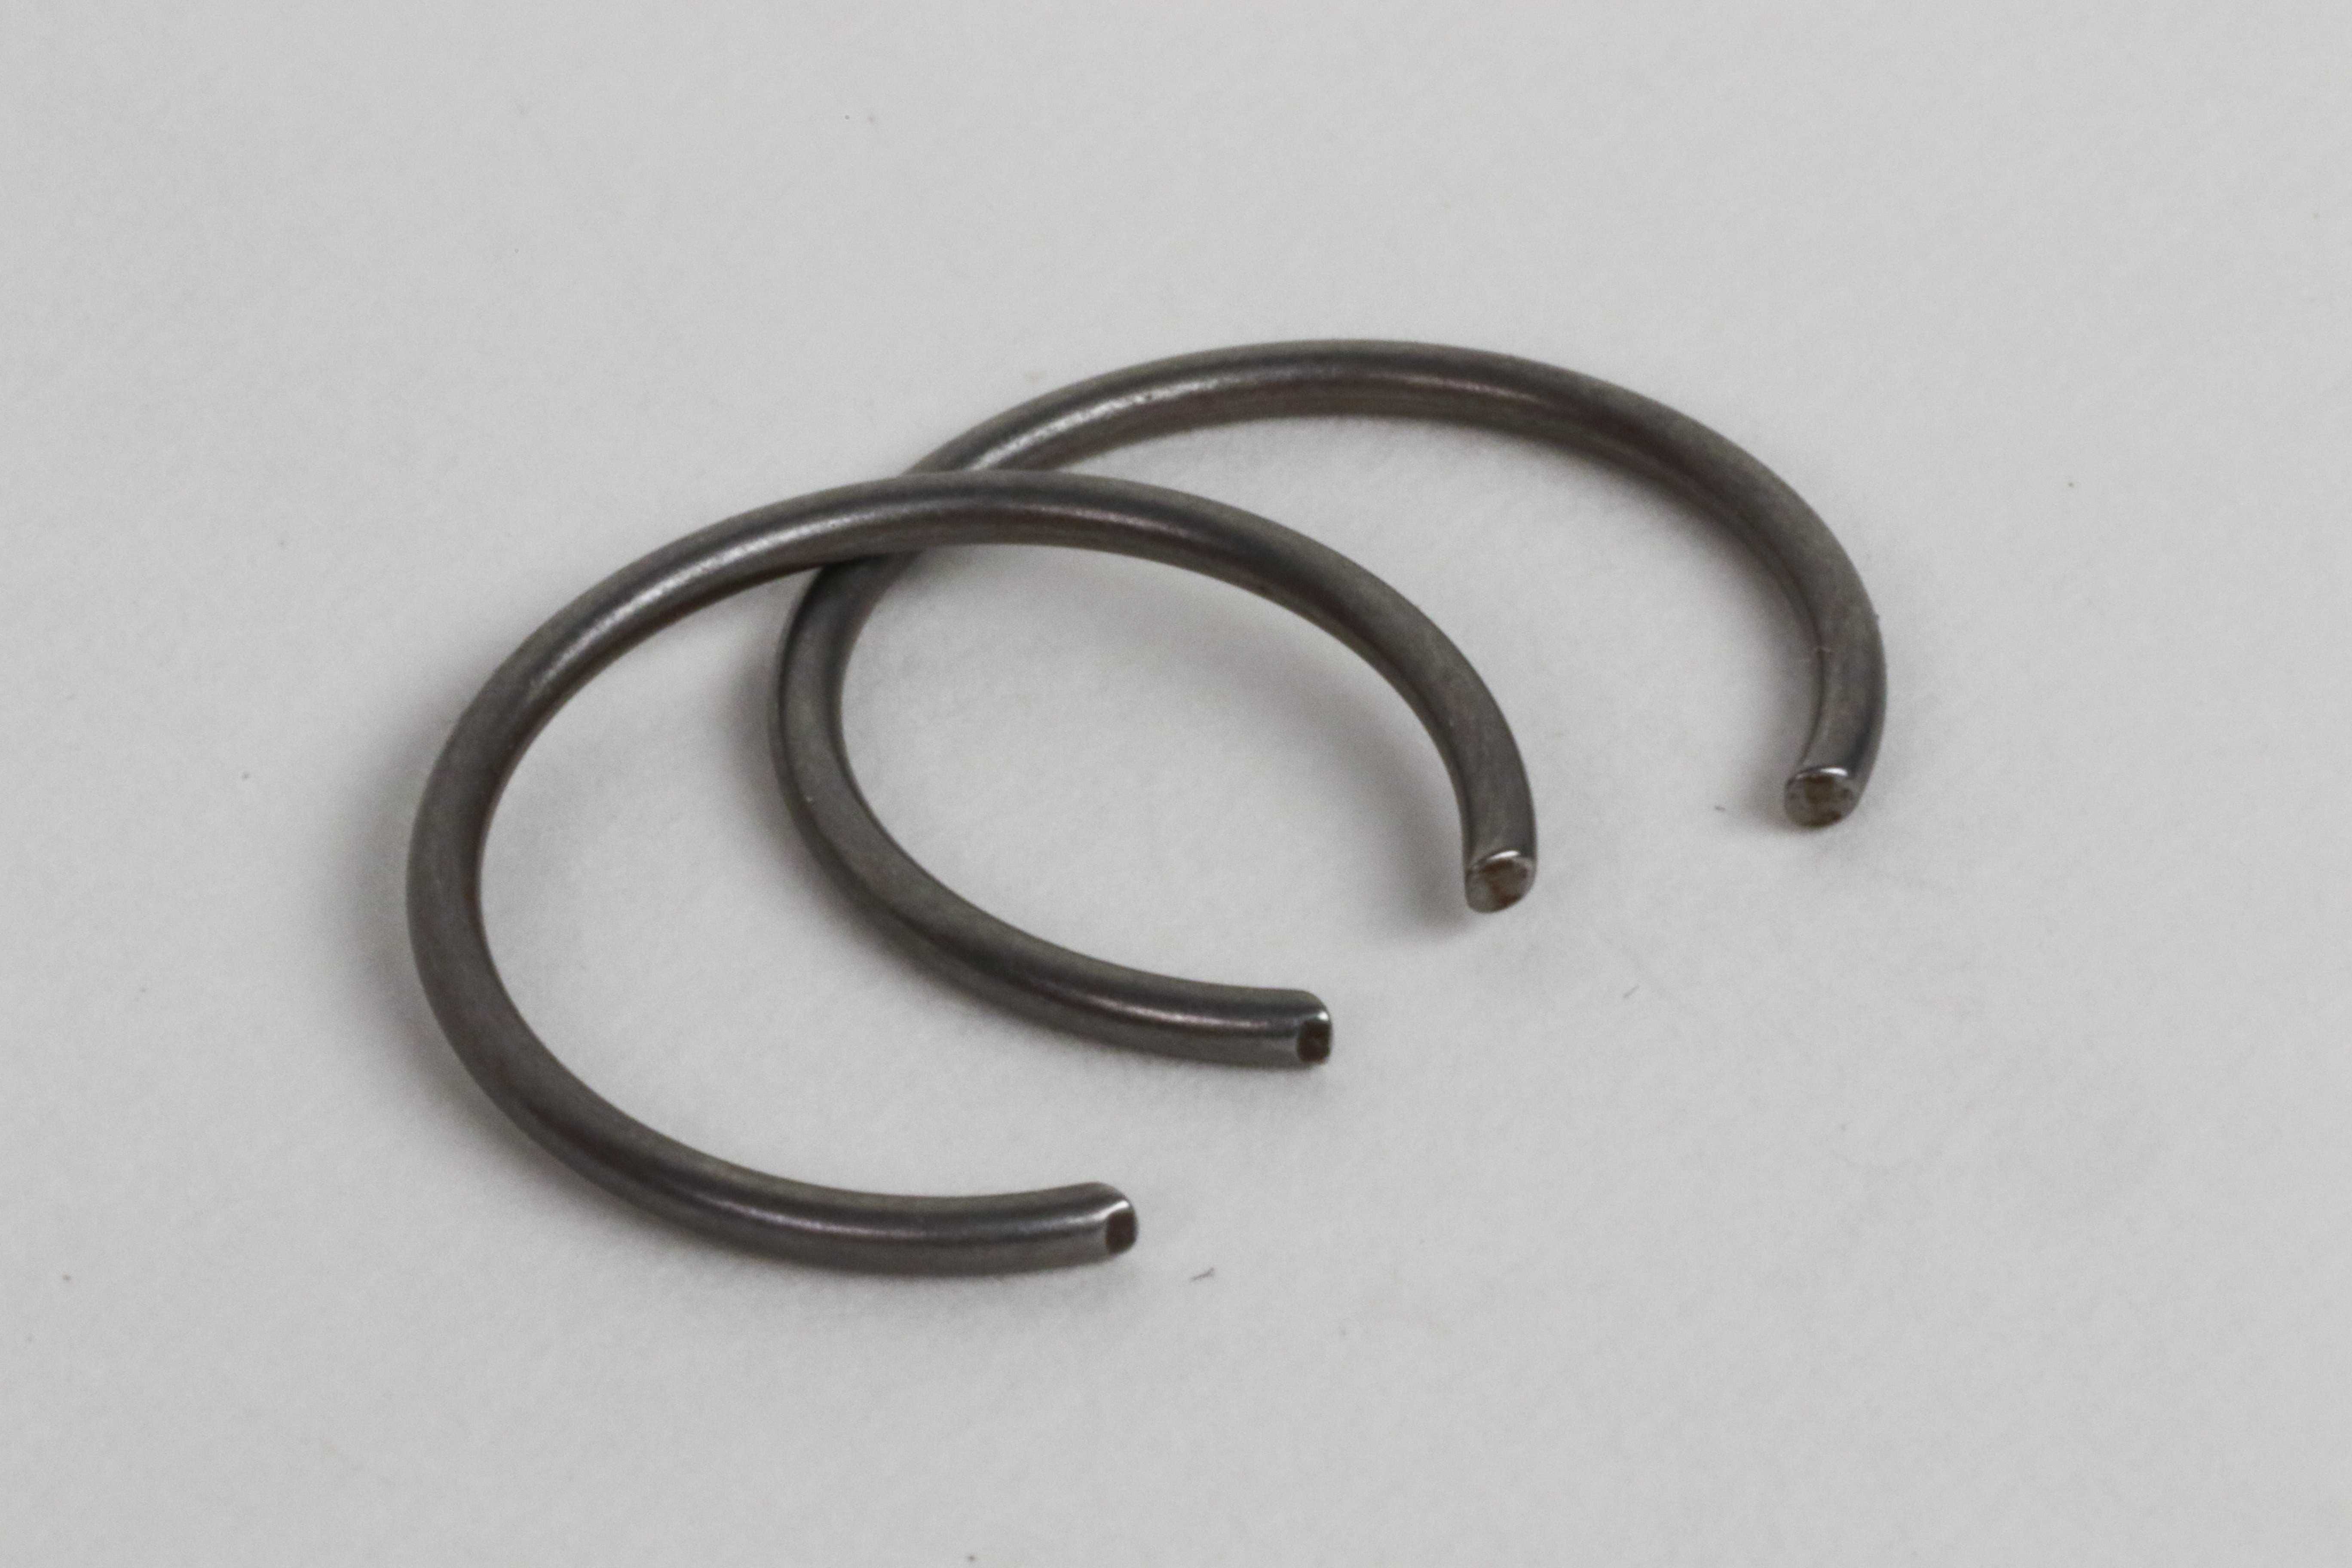
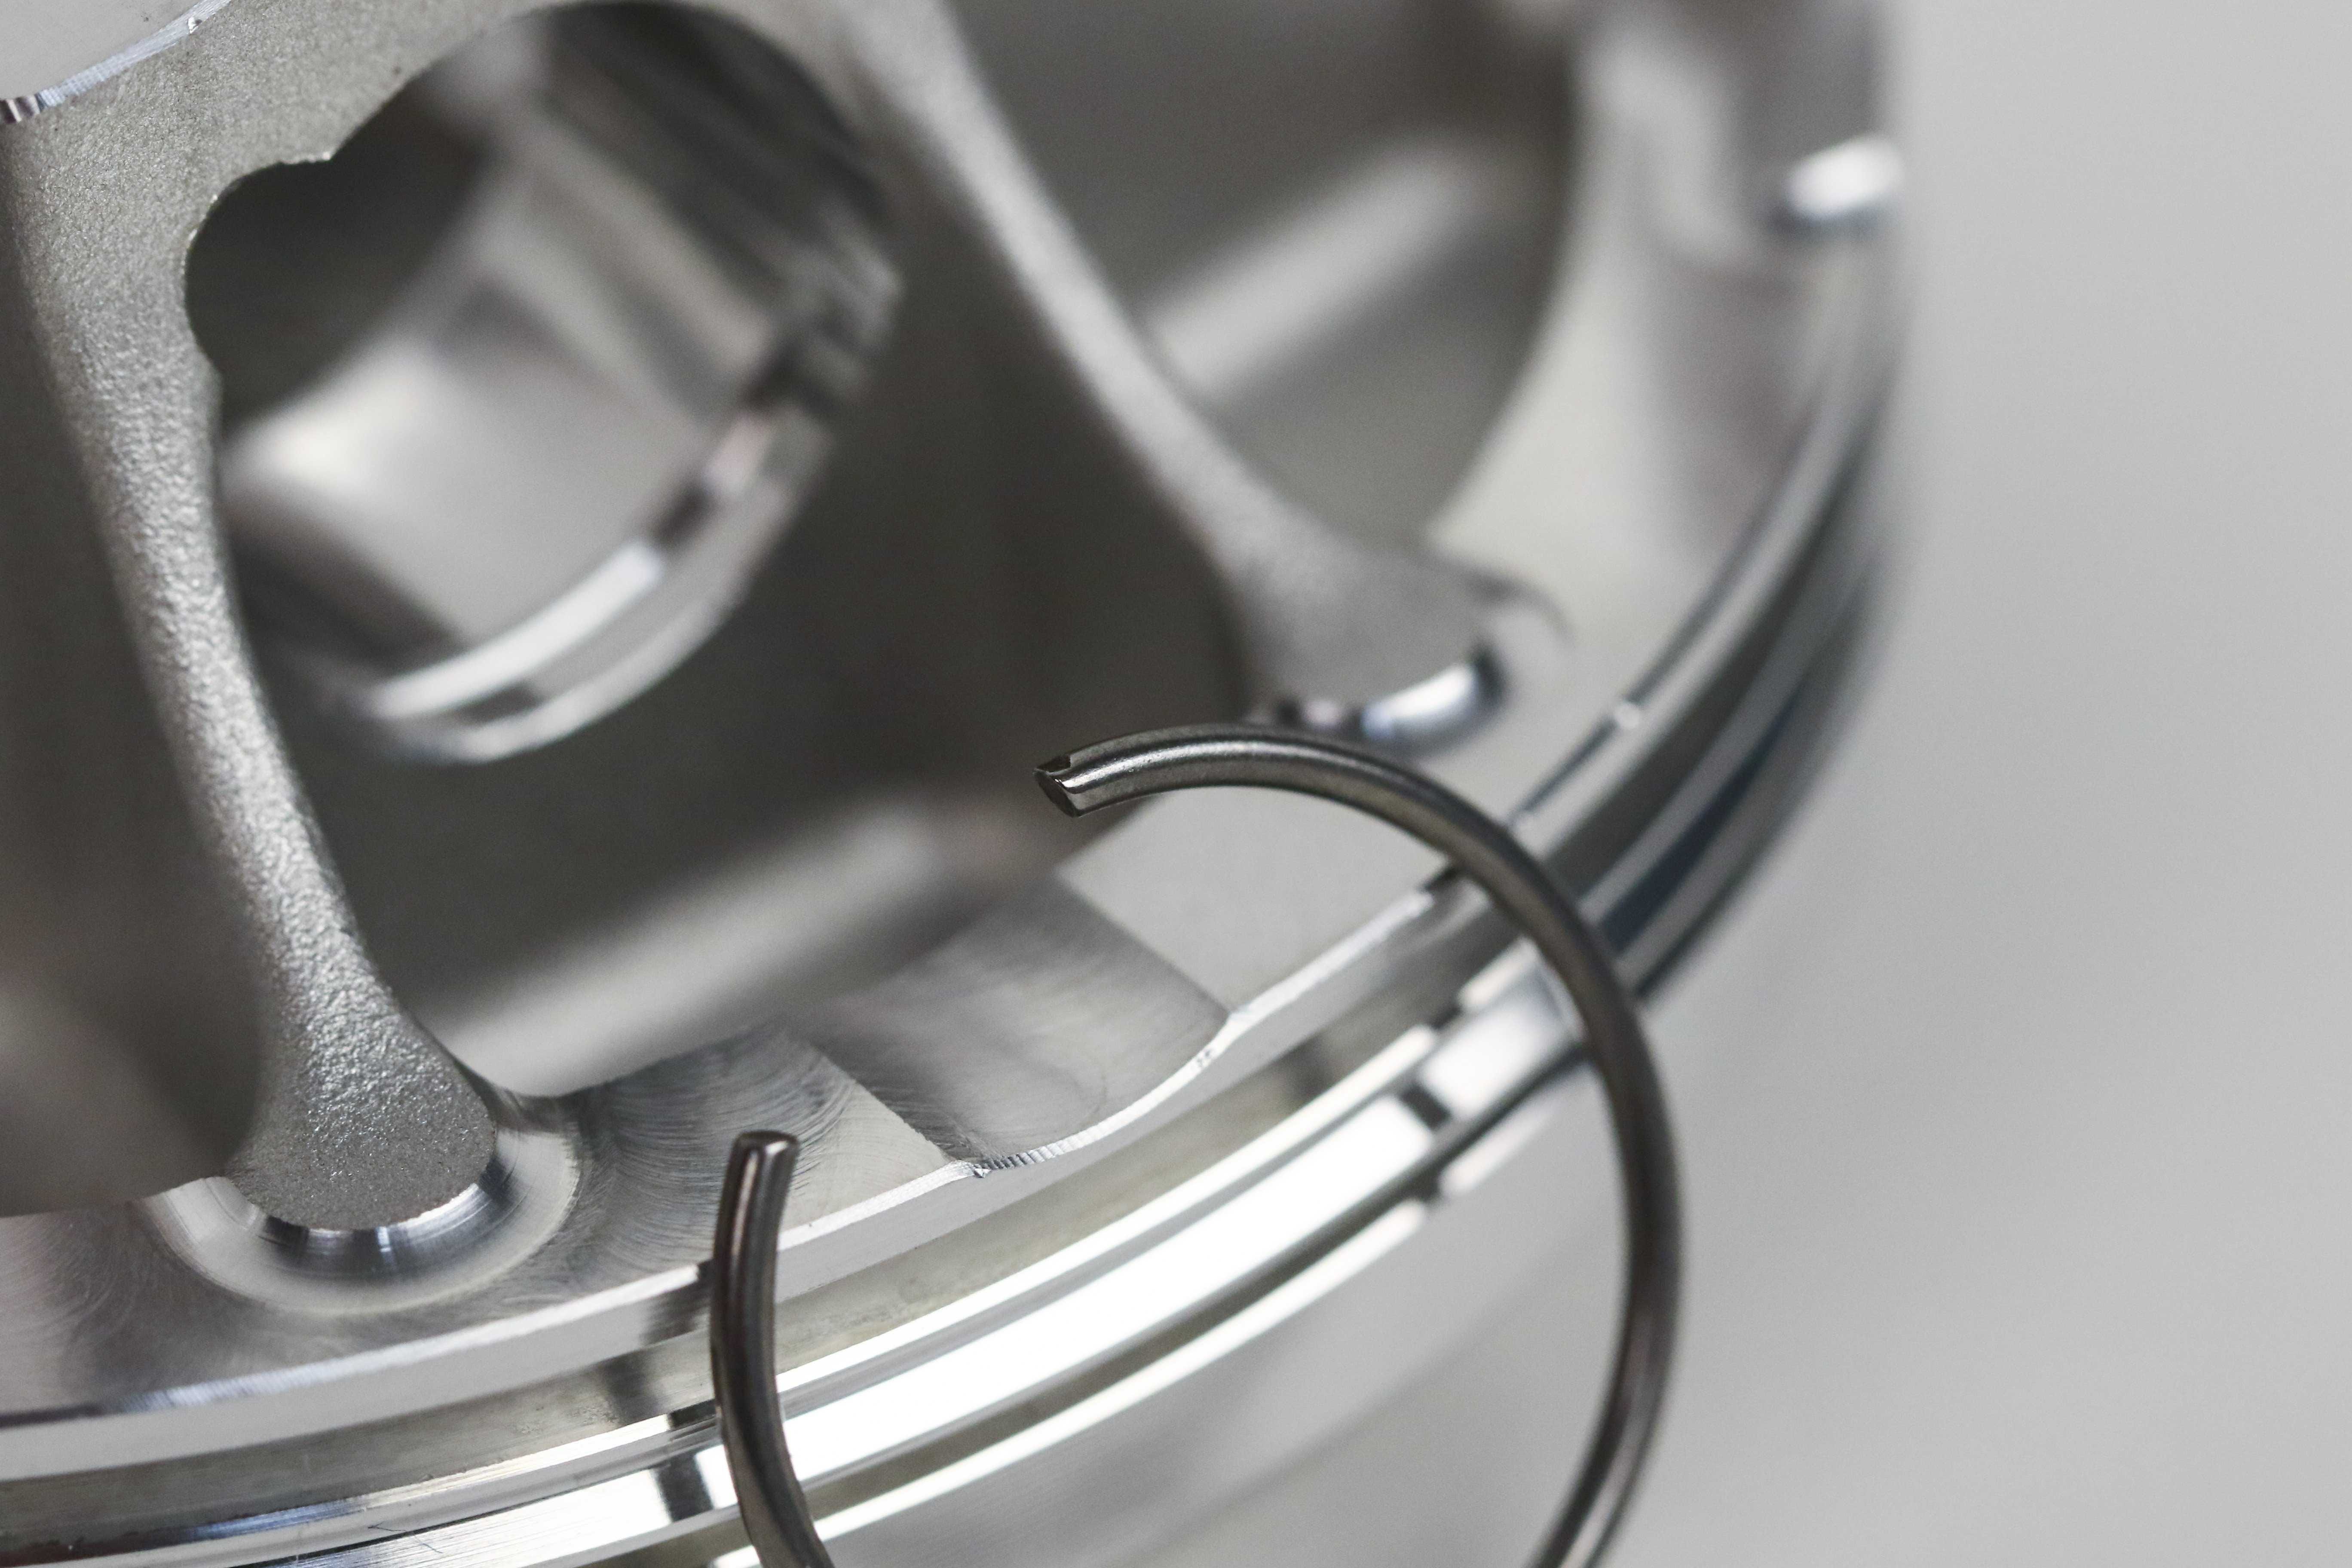
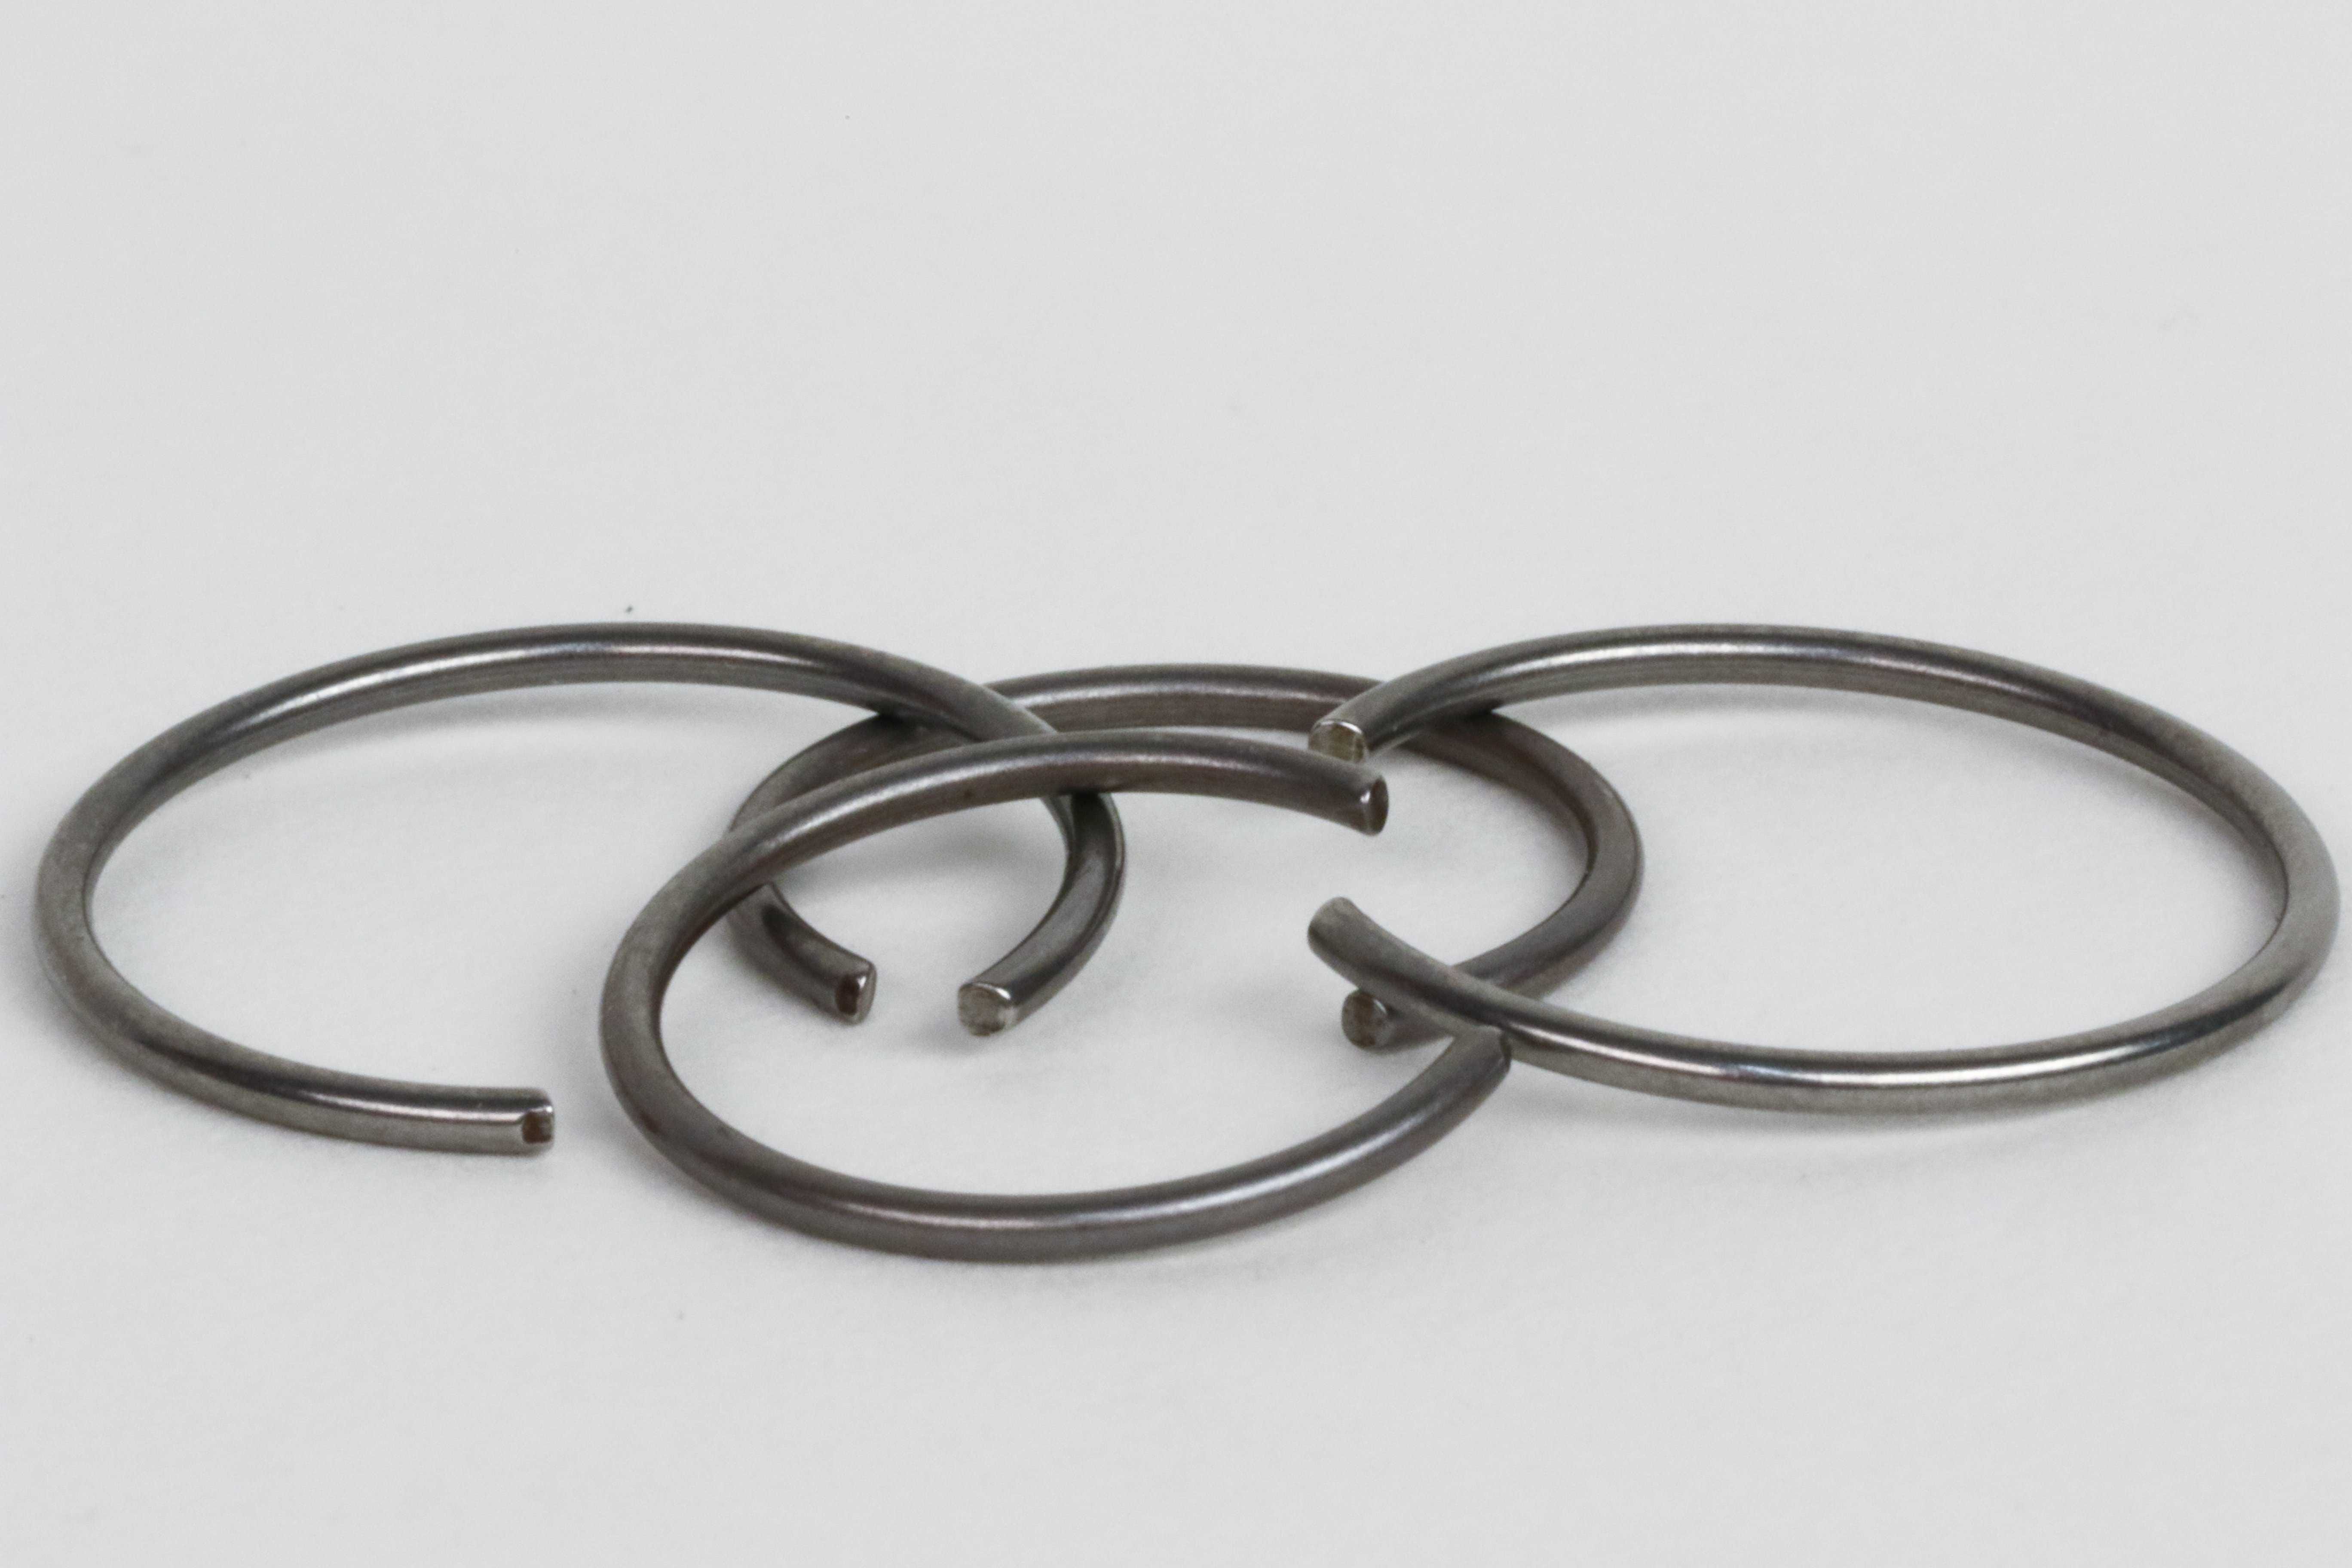
Wire locks serve an essential function and are used to retain the wrist pin in the piston in many engine applications. The wire locks themselves are merely circular shaped sprung pieces of wire. They are designed to locate in lock grooves in the wrist pin bore of the piston and stay in place via spring preload.
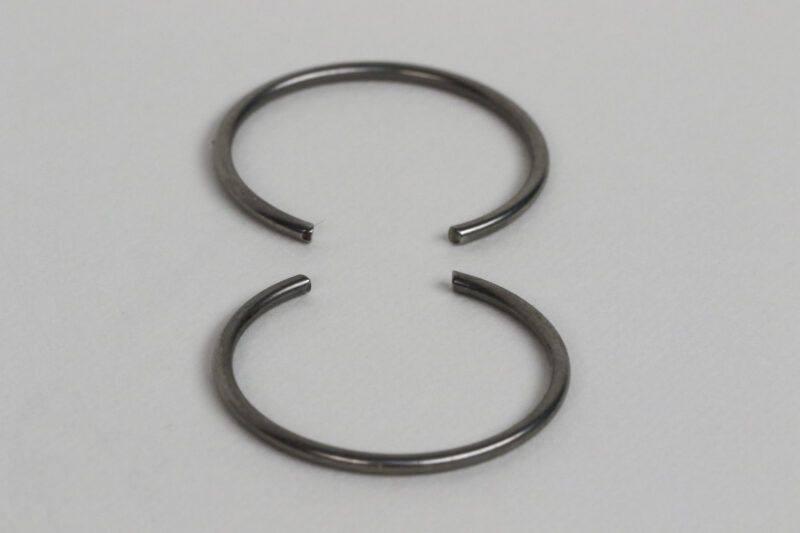
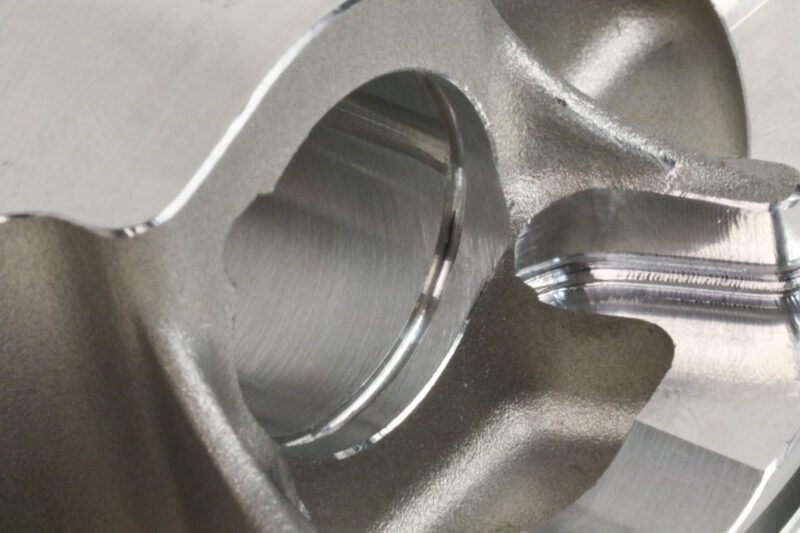
Wire locks are simply sprung pieces of wire designed to seat into the lock grooves machined into the pin bore of the piston to keep the wrist pin in place.
Failures Caused by Wire Locks
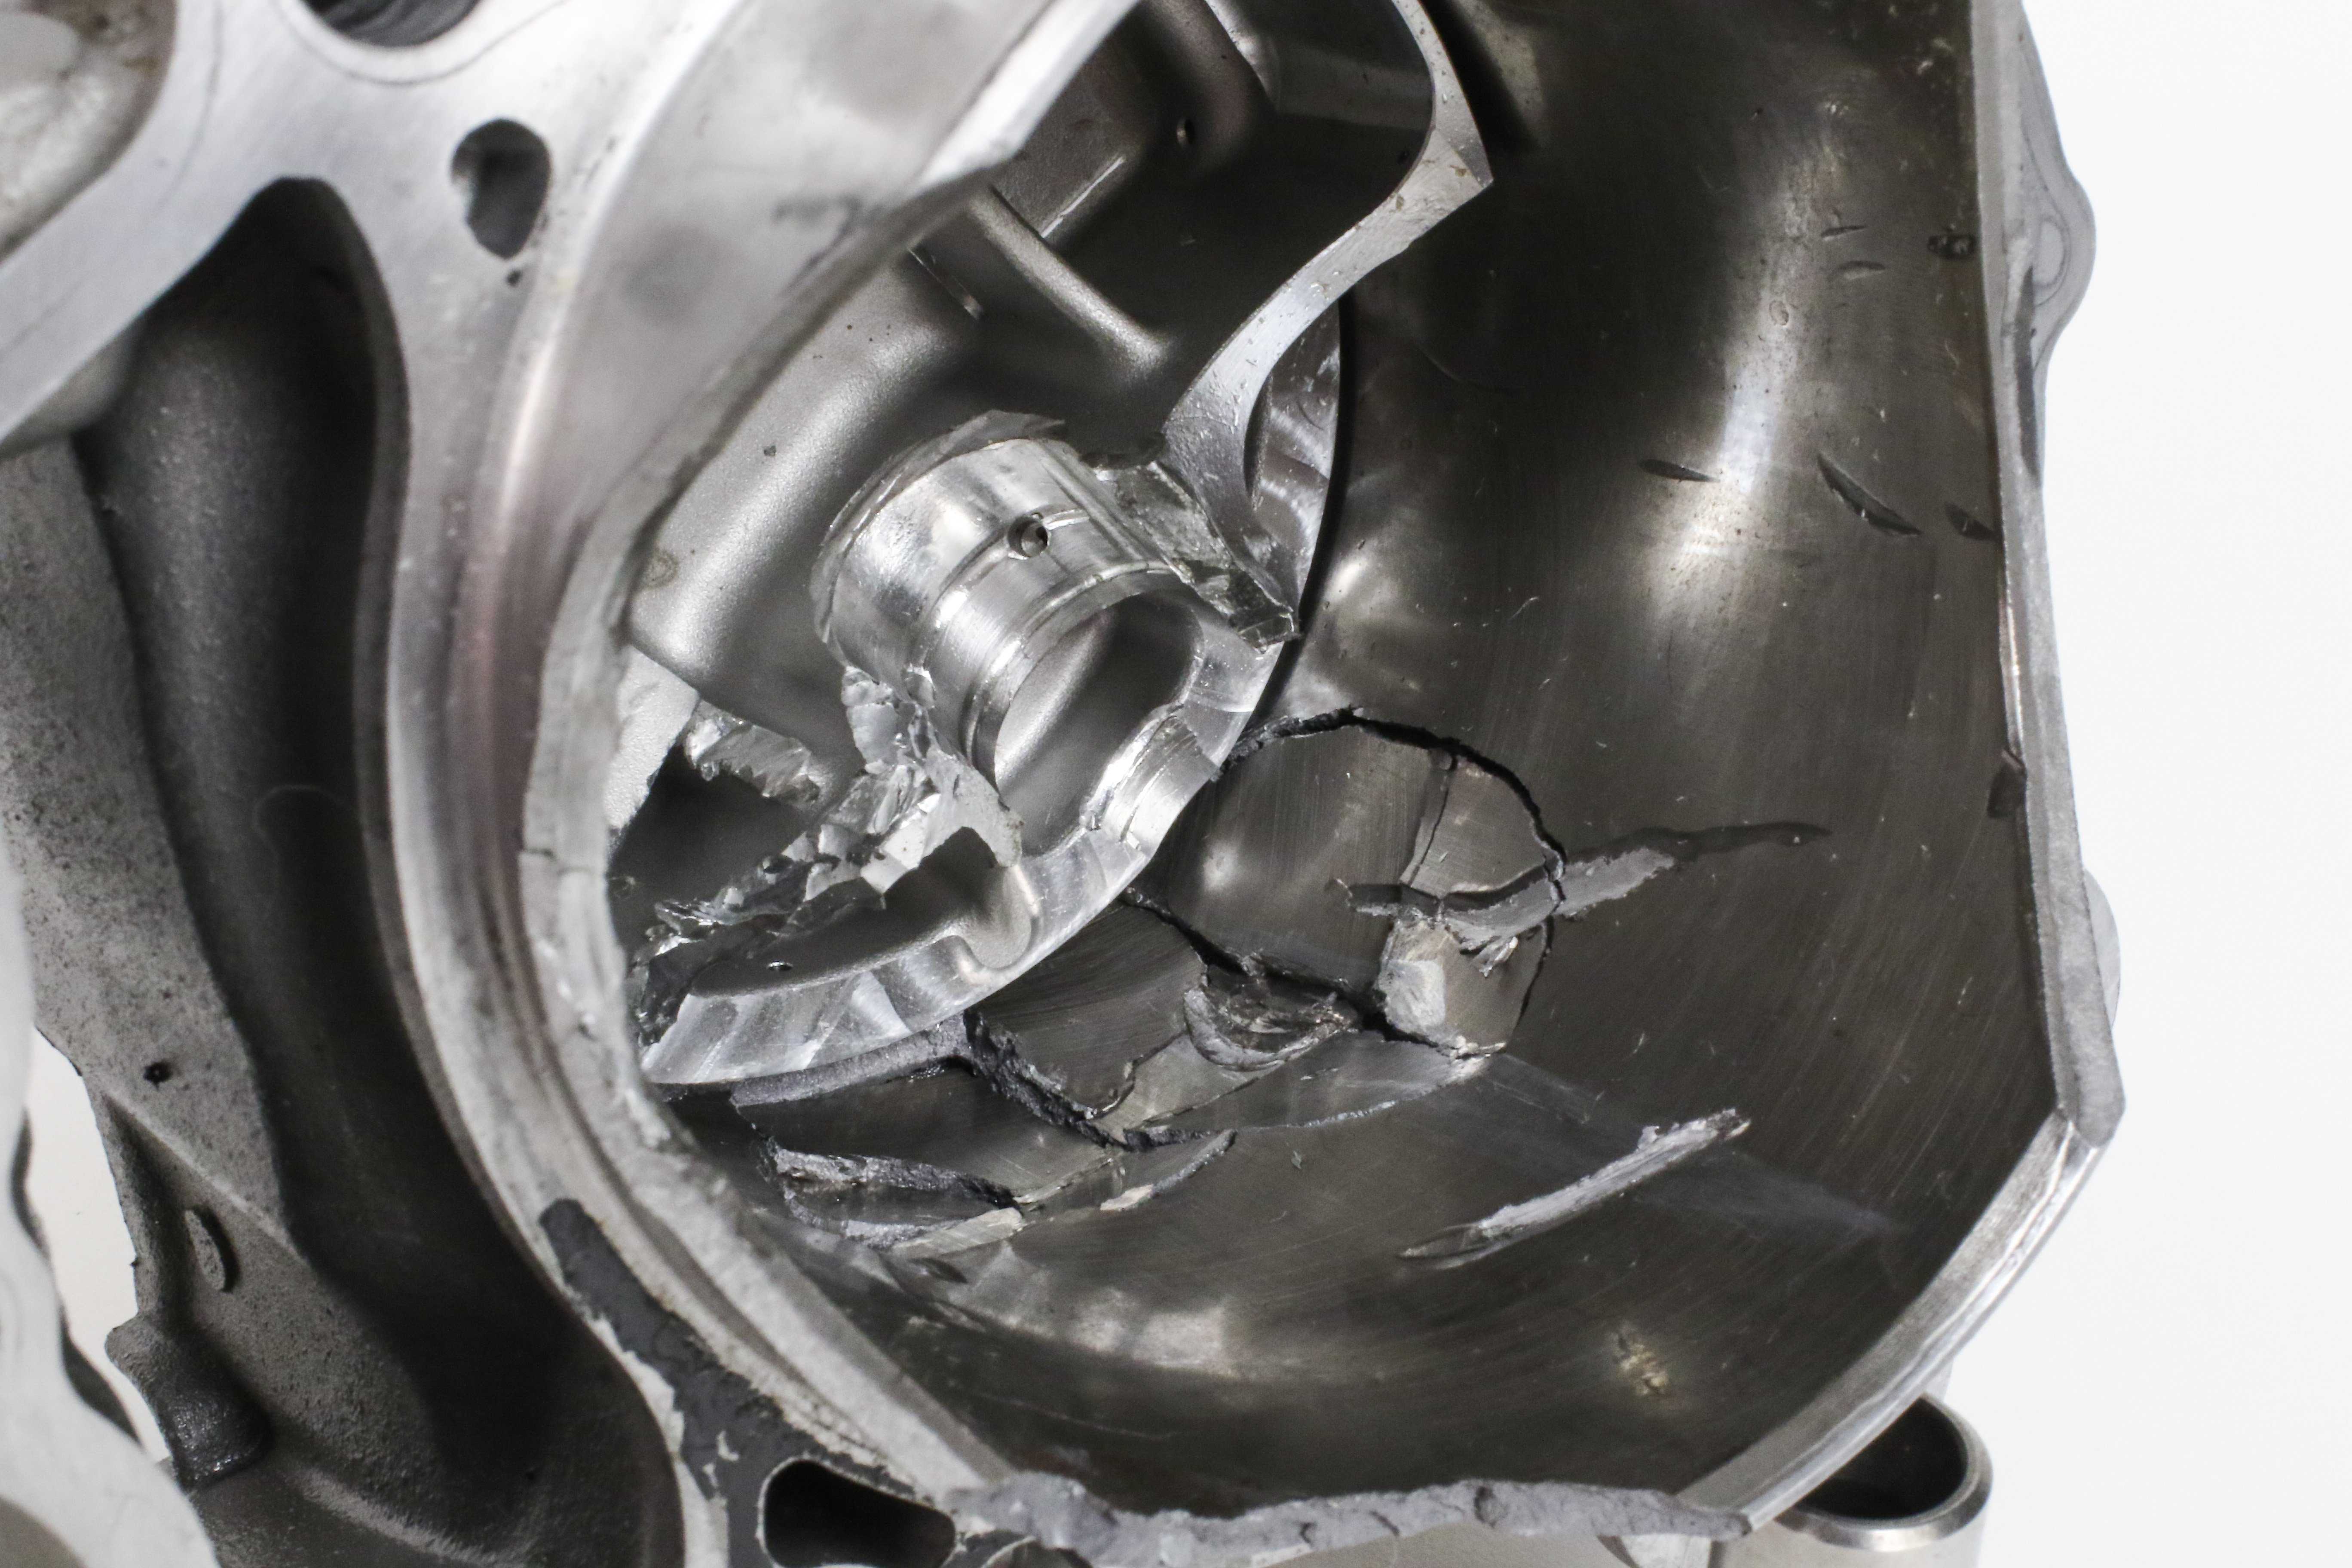
Wire lock related engine failures typically occur for a couple reasons. First, failures can occur because the wire lock was not correctly seated in its corresponding groove. Second, failures can occur because the wire lock was deformed during installation, and thus lost preload, allowing it to evacuate its groove during engine operation. Shoddy or poor wire lock installation efforts can also damage the wrist pin bore by marring the bore surface, which increases friction in the joint, and in severe cases, can cause the wrist pin joint to overheat, leading to a small end failure.
Wire Lock Orientation
The orientation of the open end of the wire lock can be an important factor and should be carefully considered before installation. In combination with physics, the dimple incorporated into the piston to aid in wire lock removal plays a key role in determining where to position the open end. In many applications, the open-end position is usually designed for either the 12 or 6 o’clock positions. When the piston is changing direction at top dead center (TDC) and inertia loading is high, the wire lock presses harder into its groove when in 12 or 6 o’clock positions. While those positions are optimal from an inertial loading standpoint, many engine designs also utilize 3 and 9 o’clock open end orientations as well. The above statements are general advice, and you should always consult your service manual or the instructions supplied by the aftermarket manufacturer for orientation directions specific to your application.
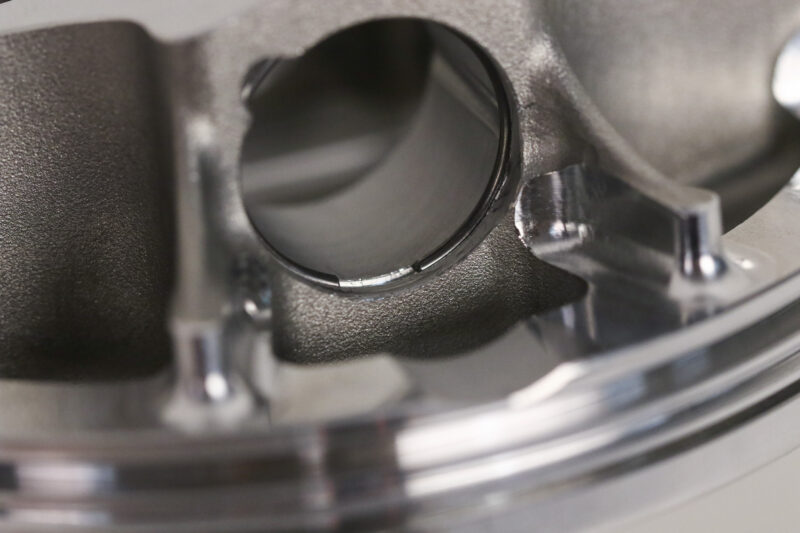
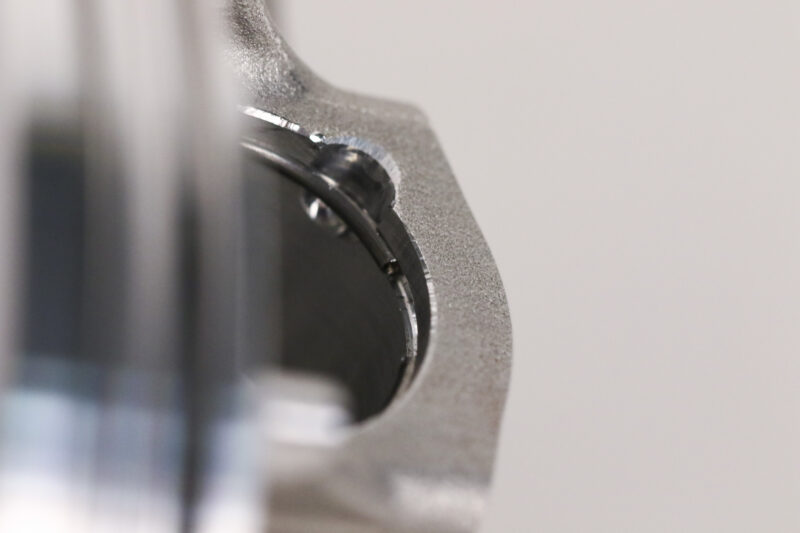
12 and 6 o’clock wire lock open-end orientations are common for many piston designs due to inertia loading during engine operation. However, always be sure to follow specific instructions provided with your pistons.
Wire Lock Filing
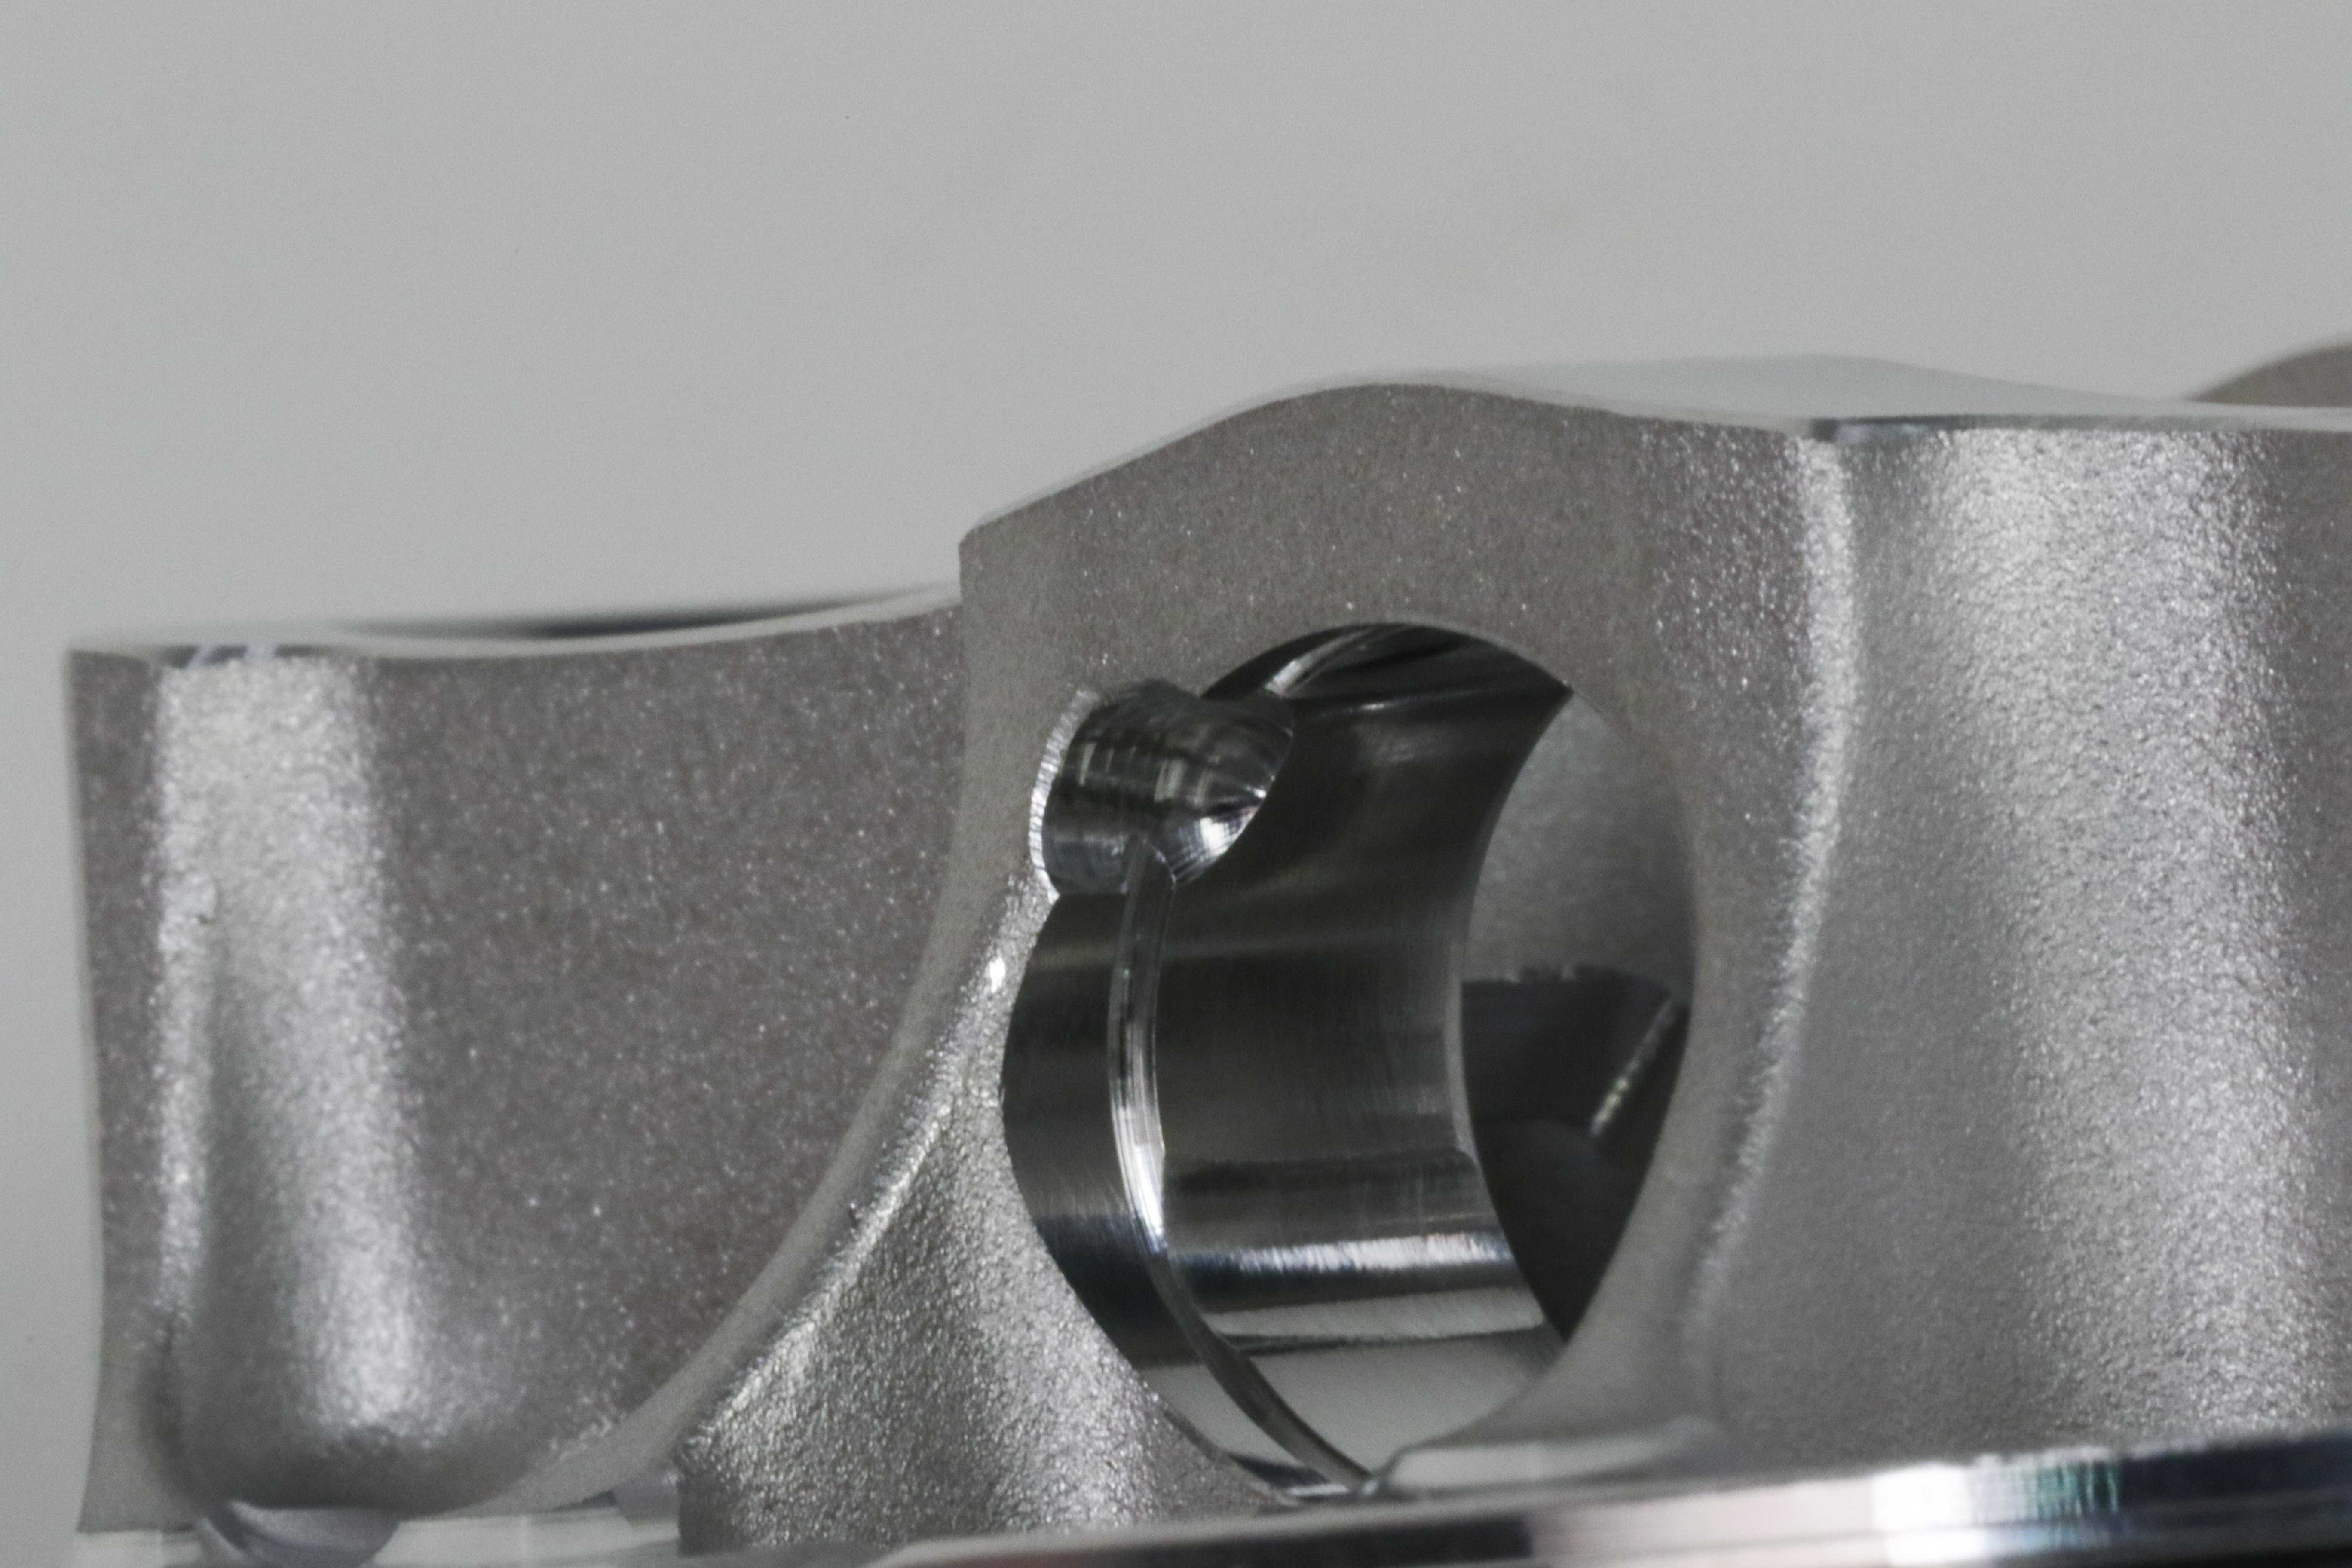
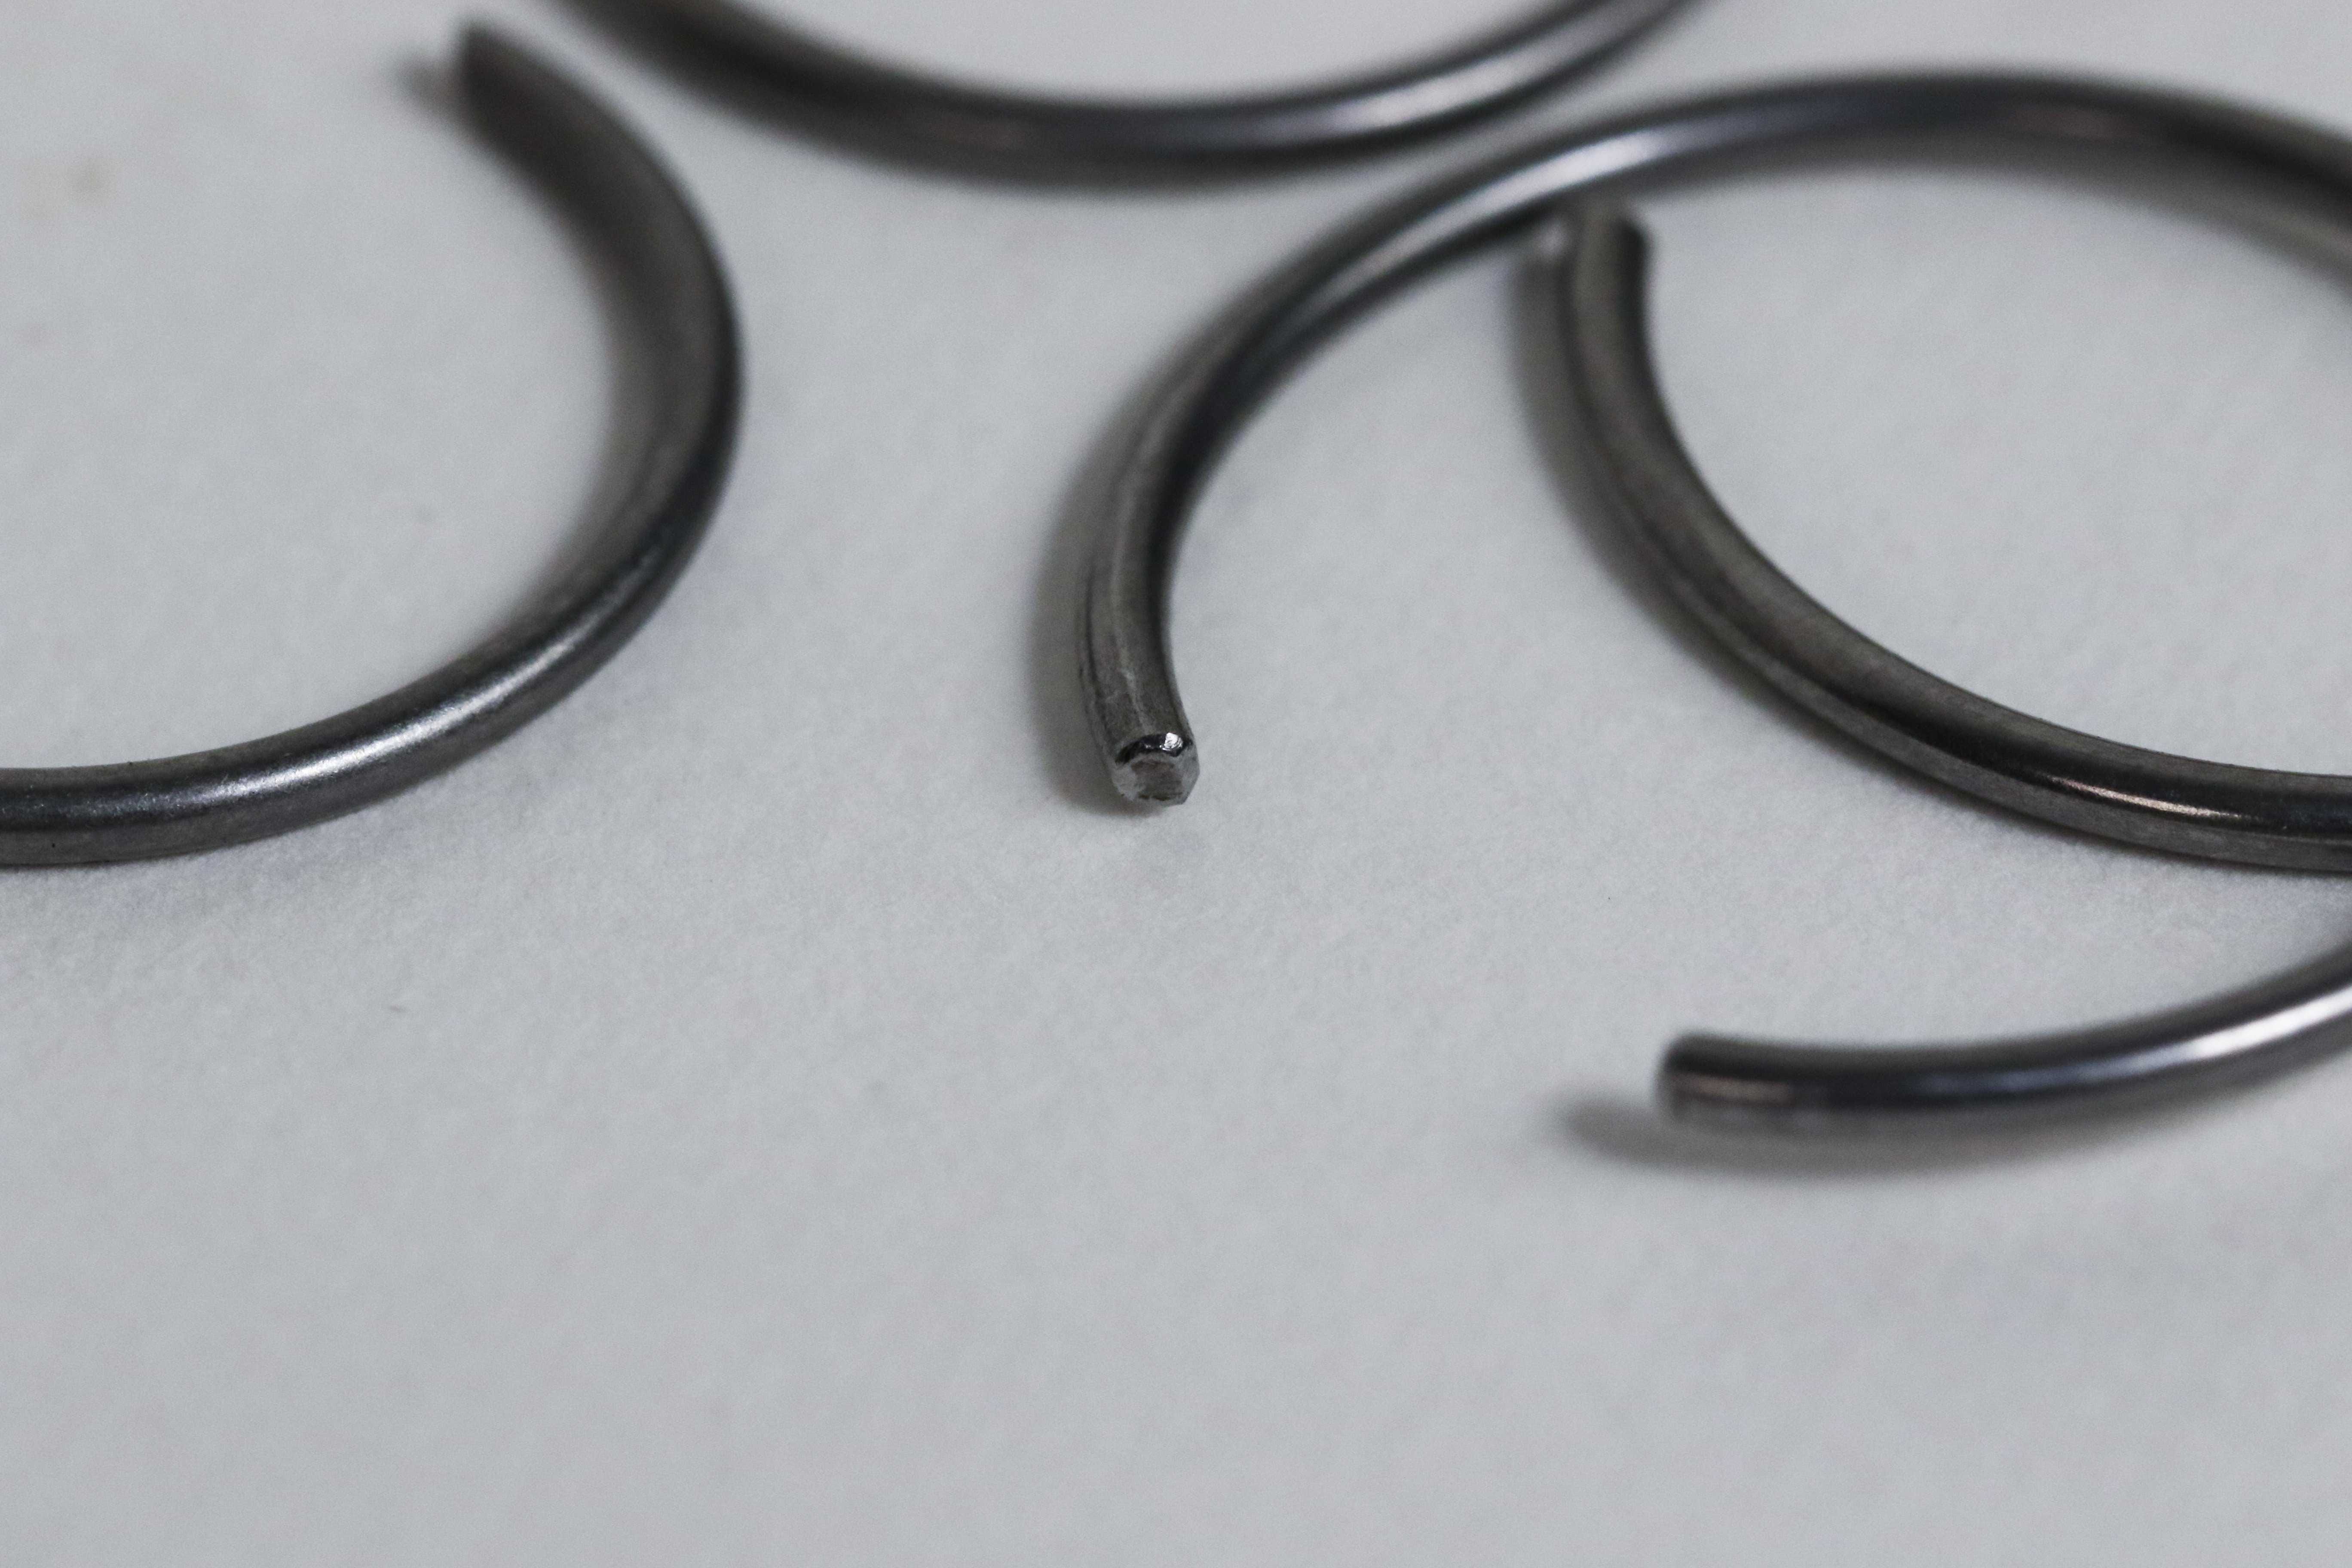
Wire locks should be installed by inserting the open end into the groove first, by hand, without the use of any special tools. Prior to installation, ease of installation can be greatly improved by carefully rounding the ends of the wire locks with a small diamond file. Due to the manufacturing process used, often, wire locks have small burrs on their ends which make sliding them into their grooves especially troublesome. Carefully removing these burrs and rounding the ends greatly improves the lock’s sliding ability and reduces the likelihood of scratching the wrist pin bore.
In many applications, it is possible and preferred to install one wire lock into the piston before assembling the piston to the connecting rod. Unless your service manual states that the wire lock must be installed in one side or the other, we recommend taking into consideration which side of the engine will be easiest to install the remaining wire lock. Engine architecture and considering which hand of the builder is dominant are often the primary drivers behind deciding on which side to install the lock first.
Individual builders may have different hand motions and techniques when it comes time to installing the first wire lock into the piston. However, there are a handful of tips and tricks that can be applied to make the job easier. First, perform the installation over an area where botched attempts will not leave the wire lock inside the engine or forever missing on the shop floor. We can assure you many hours have been spent hunting for wire locks that have careened off course.
Installing Wire Locks
Insert the open end of the wire lock at about a 45-degree angle and use both thumbs to compress the wire lock into the wrist pin bore. Usually, by doing this, it’s possible to get the open ends of the wire lock started in its groove and the opposite end to stay stationary in the wrist pin bore. At this point, you can reposition your fingers so that the wire lock can be pushed all the way into its groove, or a small flathead screwdriver can be used to push the wire lock in the rest of the way. The wrist pin can also be inserted before attempting to install the wire lock to serve as a backstop while navigating the open ends into the groove. Once the lock is completely in the groove, push the wrist pin against the lock and give the opposite end of the pin a tap to be sure the lock is fully seated.
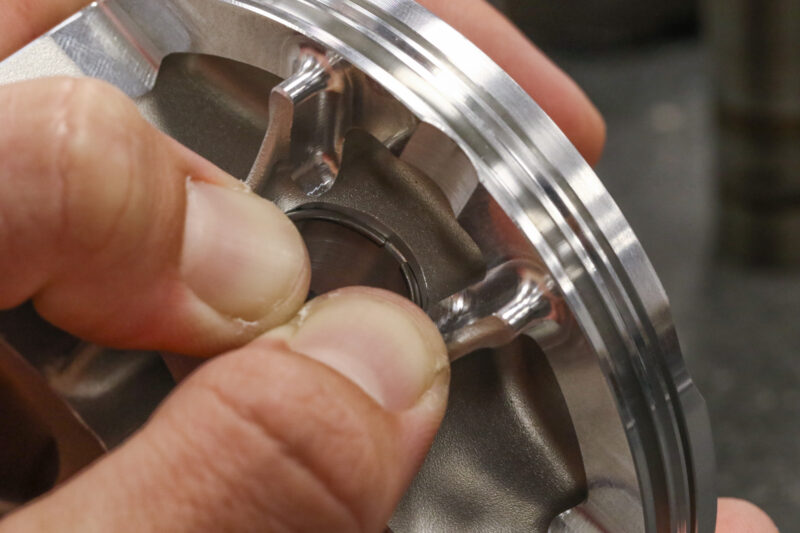
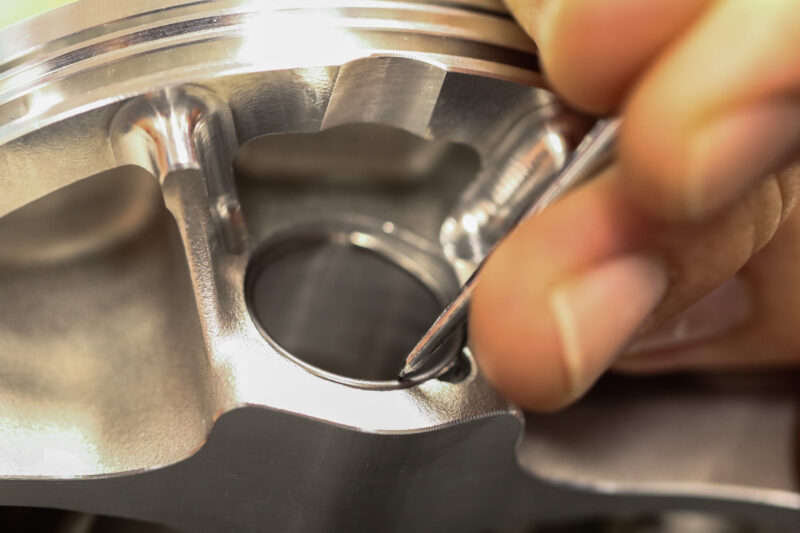
Insert the open end of the wire lock first without using any special tools. Once that end is seated in the groove, you can either use your thumb or carefully use a tool to push the remainder of the lock into the groove.
Once you believe the wire lock is seated in its groove, it is incredibly important to verify this is the case. Use a small screwdriver and apply light -to-moderate pressure to try to rotate the lock in its groove by pushing on one of the open ends. Any wire locks that can be rotated in their grooves have been damaged and should be replaced. A properly installed wire lock should not rotate in its groove under moderate load.
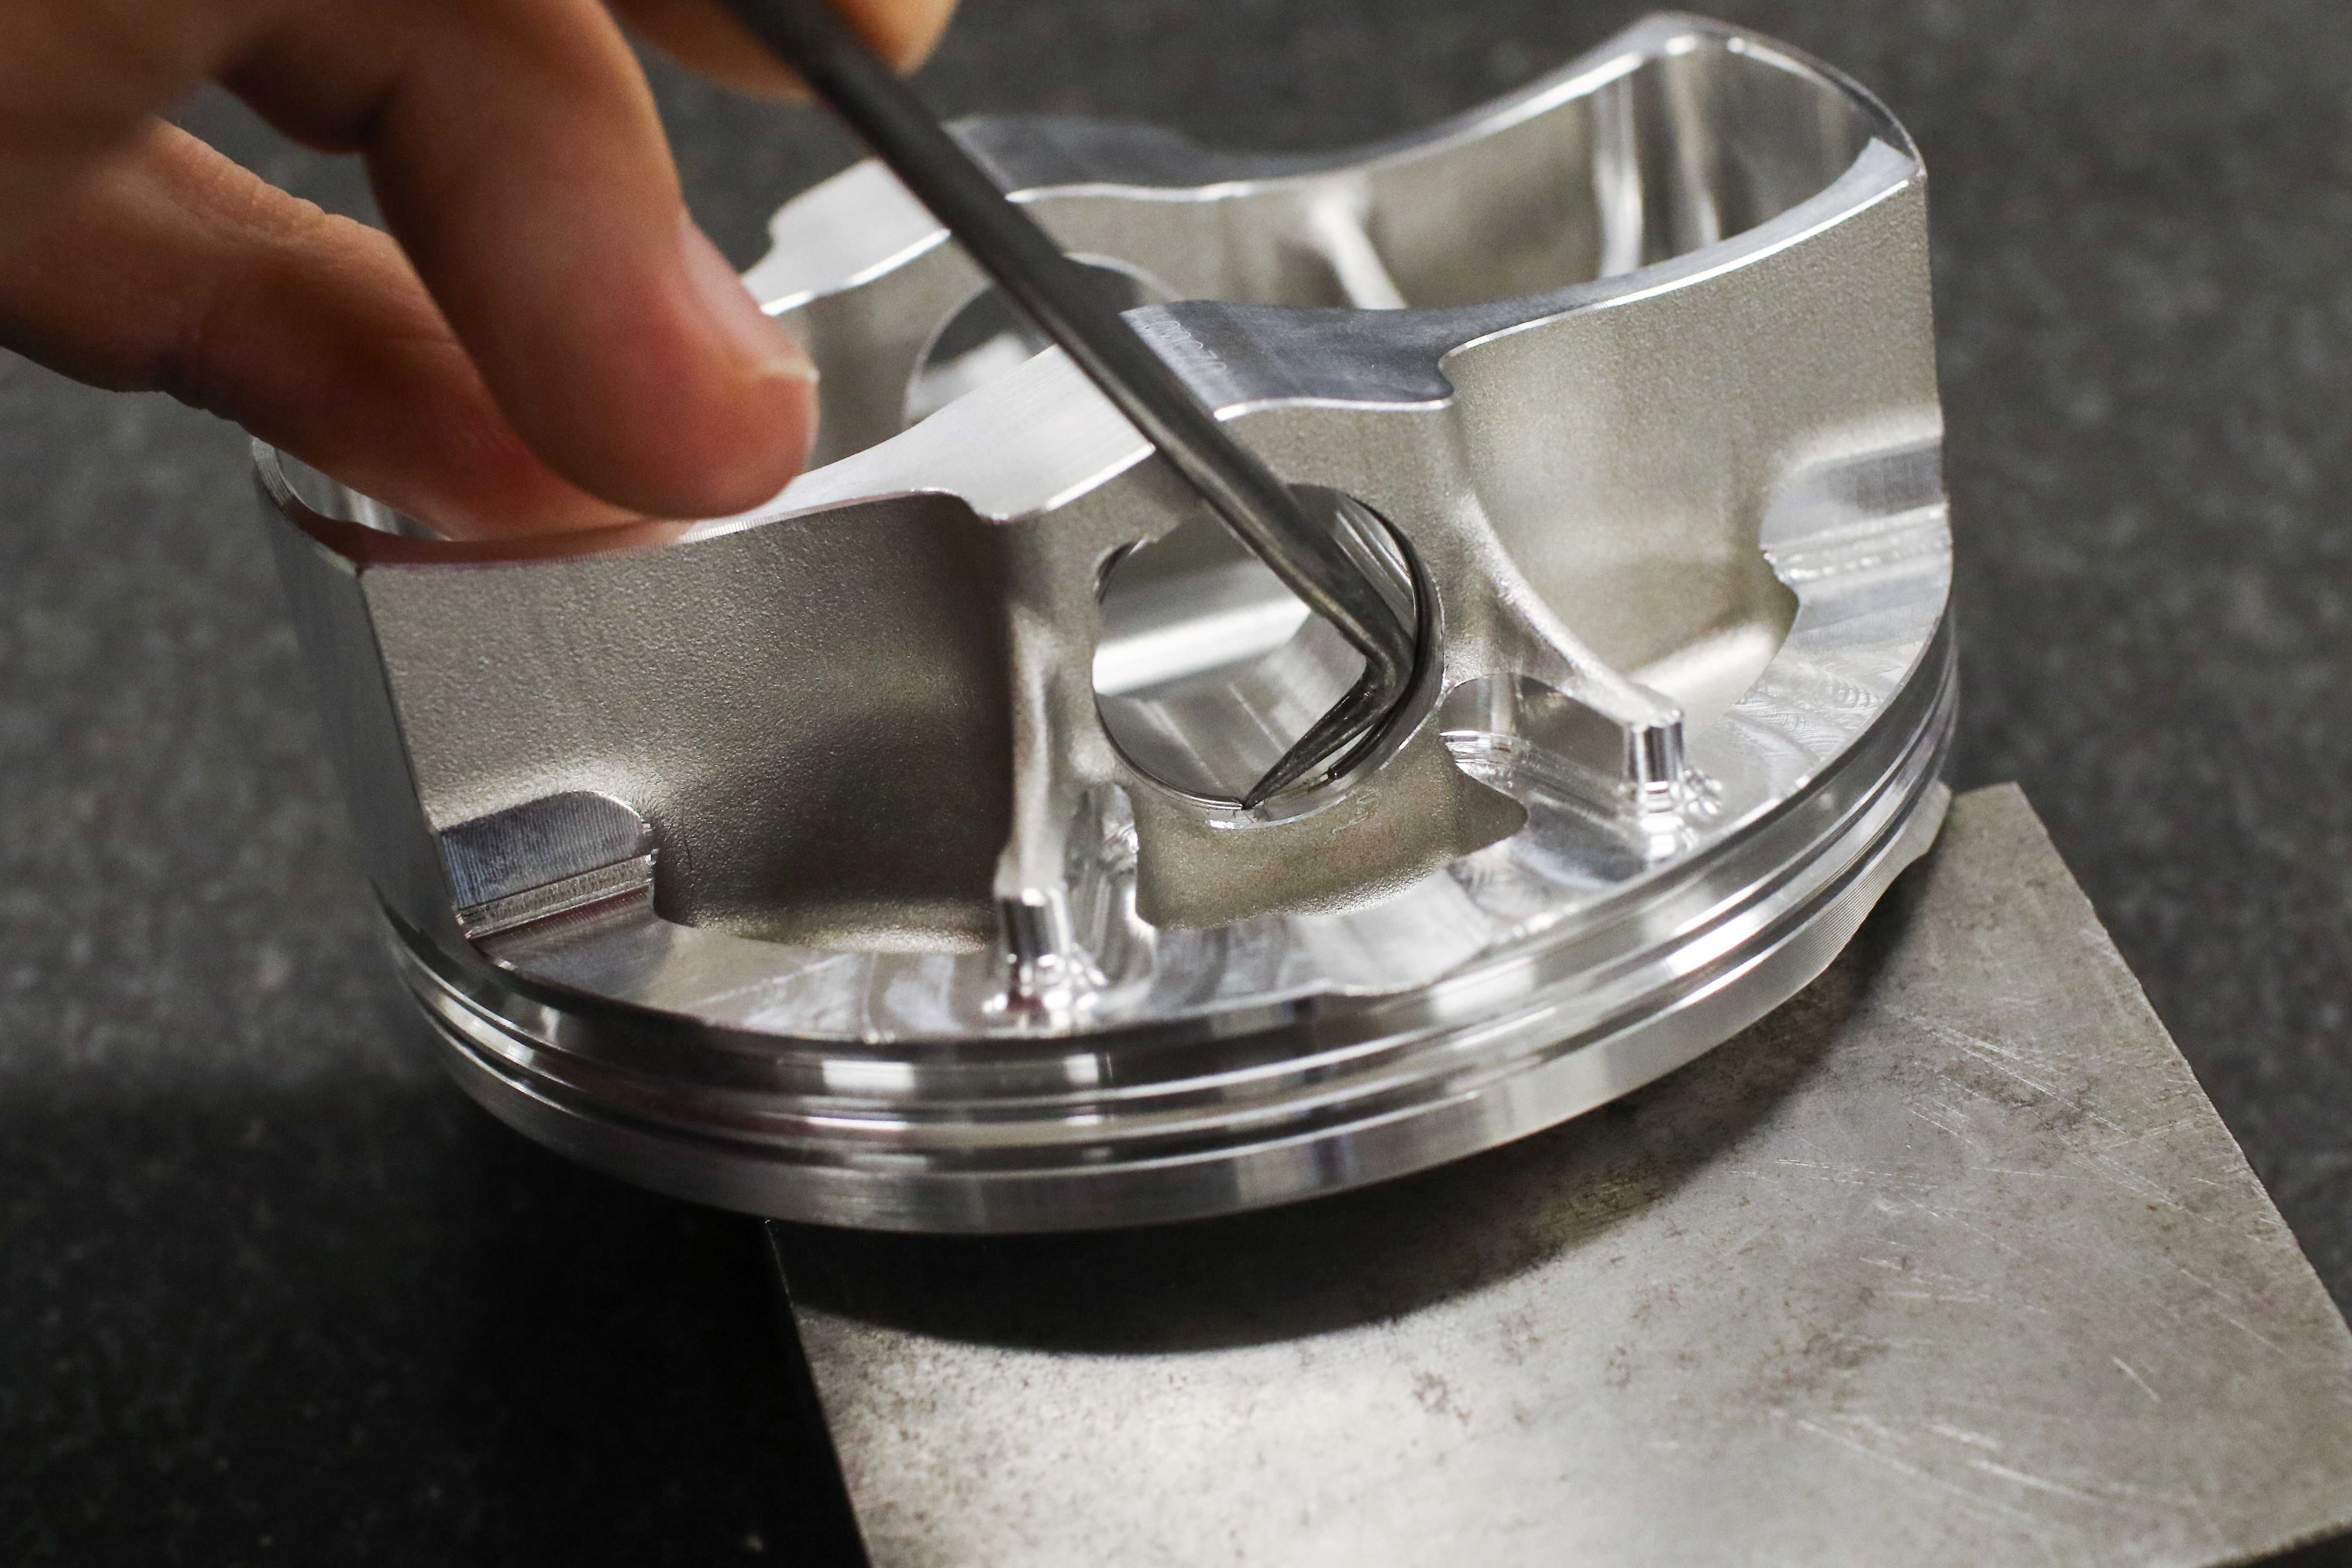
The same installation tips can be applied to the remaining wire lock once the piston is assembled to the connecting rod. One tip worth mentioning before installing the remaining wire lock entails lubrication advice. Since wire locks are not designed to rotate in their grooves, it is our preference not to introduce lube oil of any kind into the wire lock grooves. Thinking through the sequence of where and how assembly lube or engine oil is applied to the small end components can reduce the likelihood of getting lube into the remaining wire lock groove. Usually, it is best to carefully coat the wrist pin bore and rod small end bore, as opposed to the wrist pin, so that lube oil isn’t scraped off the wrist pin and deposited in the wire lock groove.
Before installing the remaining lock with the piston fixed on the connecting rod, cover the crankcase with a clean lint-free rag so that the wire lock cannot get lost in the engine on a botched attempt. Remember to use the wrist pin as a backstop and install the open ends in the correct orientation. Once installed, be sure to check that the wire lock has fully seated and cannot be rotated.
